Getting your fountain pen ready to write for the first time can feel both exciting and intimidating. Unlike a ballpoint pen that works straight from the package, fountain pens require a bit of care during setup to ensure smooth, consistent writing from the very first stroke.
Whether you’ve just purchased your first fountain pen or you’re setting up a new one, this guide will walk you through each step with the patience and detail you deserve. By the end, you’ll have the confidence to set up any fountain pen and start enjoying the wonderful experience of writing by hand.
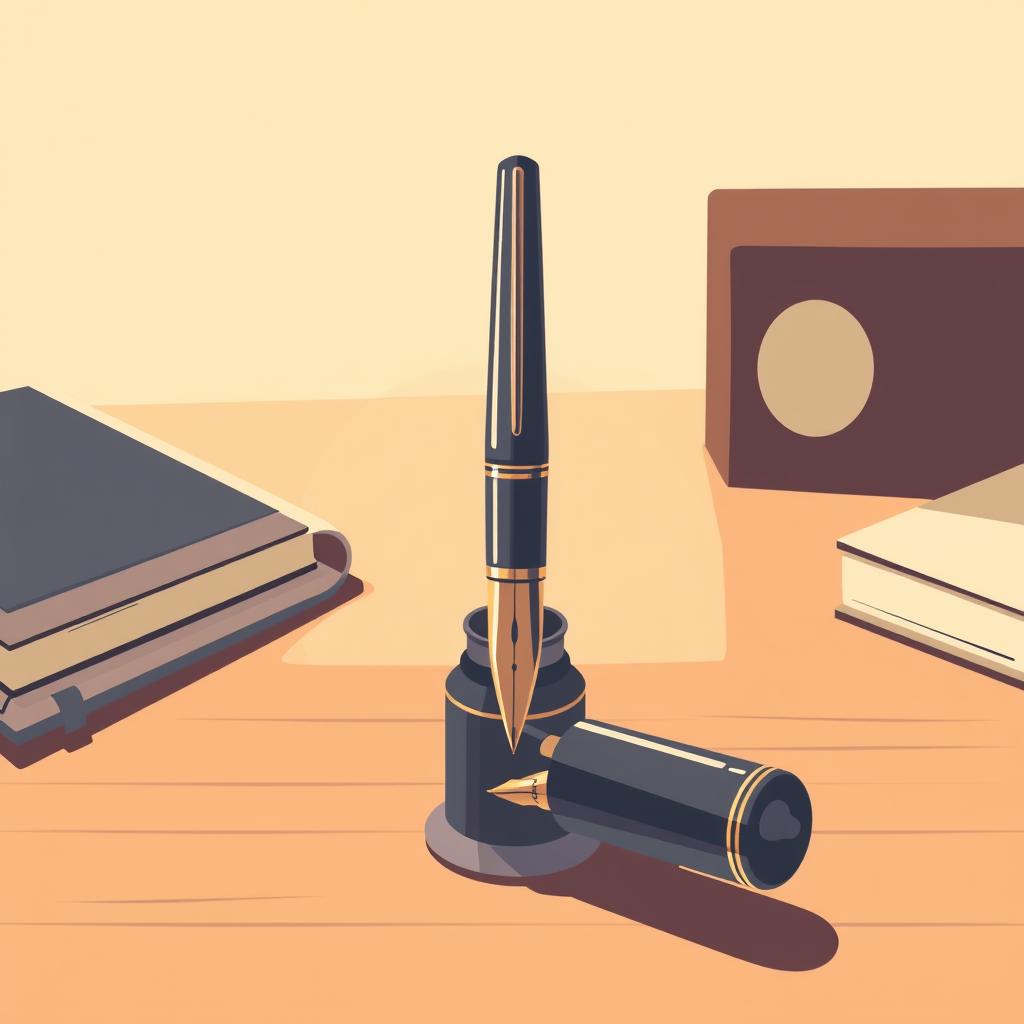
Understanding Your Fountain Pen Components
Before we dive into the setup process, let’s familiarize ourselves with the key parts you’ll be working with:
- The Barrel: The main body that houses your ink cartridge or converter
- The Section: The grip area where your fingers hold the pen
- The Nib: The metal writing tip that delivers ink to paper
- The Feed: The plastic piece under the nib that regulates ink flow
- The Cap: Protects your nib when not in use
Most beginner fountain pens come with either a cartridge system (pre-filled ink containers) or a converter system (refillable from bottled ink). For your first setup, cartridges are usually the simplest option.
Preparing Your Workspace
Setting up your fountain pen properly starts with having the right environment. Choose a well-lit area with good ventilation, and keep these items within reach:
Essential Supplies
- Your fountain pen and cartridge: Make sure both are at room temperature
- Clean water: For cleaning if needed
- Paper towels: To wipe any excess ink
- Scrap paper: For testing your pen after setup
Creating the Right Environment
Fountain pens are sensitive to temperature changes, so avoid setting up your pen in direct sunlight or near heating vents. Room temperature is ideal for both the pen and the ink cartridge.
Step-by-Step Setup Process
Now for the main event—actually setting up your fountain pen. Follow these steps carefully, and don’t rush the process.
Step 1: Unpack and Inspect
Remove your fountain pen from its packaging and inspect all components. Look for any obvious damage to the nib, and make sure all parts are included. Most pens come with one ink cartridge to get you started.
Step 2: Install the Cartridge
Unscrew the barrel from the section (the grip area). You’ll see a small plastic tube inside—this is where your cartridge connects. Take your ink cartridge and gently push it into the tube until you feel or hear a small “click.” This means the cartridge has punctured properly.
Step 3: Prime the Feed System
Here’s where patience becomes essential. After installing the cartridge, it takes time for ink to travel through the feed system to the nib. Screw the barrel back onto the section and set your pen nib-down in a cup or pen stand. Wait 10-15 minutes for the ink to flow naturally.
Testing and Fine-Tuning
After the waiting period, it’s time to test your setup. Start with gentle strokes on scrap paper, allowing the pen to find its natural writing angle.
Smooth ink flow
Ink flows consistently without skipping or flooding.
Even line weight
Your writing appears uniform without scratchy areas.
Comfortable writing angle
The pen feels natural in your hand without forced positioning.
No ink flow
May need more priming time or cartridge adjustment.
Scratchy writing
Could indicate misaligned nib or insufficient ink flow.
Ink flooding
Cartridge may be installed incorrectly or damaged.
Frequently Asked Questions
How long should I wait for ink to flow?
Most fountain pens will be ready to write within 10-15 minutes. Some may take up to 30 minutes, especially if the feed is completely dry.
What if my pen won’t write after setup?
Try gently tapping the cartridge to ensure it’s fully seated, or wait longer for ink to reach the nib. Never shake the pen vigorously.
Can I switch cartridge colors immediately?
Yes, but clean the feed system with water between different colored inks to prevent mixing and muddied colors.
Should I store my pen nib up or down?
For daily use, nib up prevents potential leaking. For long-term storage, either orientation works as long as the cap is securely on.
Next Steps in Your Fountain Pen Journey
Congratulations! You’ve successfully set up your first fountain pen. The setup process becomes second nature with experience, and soon you’ll be helping other beginners through their first fountain pen adventures.
Take some time to practice writing with your newly set up pen. Pay attention to how it feels in your hand and how the ink flows across the paper. Every fountain pen has its own personality, and getting to know yours is part of the joy of this timeless writing instrument.
Remember to cap your pen when not in use to prevent the nib from drying out, and don’t be afraid to experiment with different papers and writing angles as you develop your personal fountain pen style.